
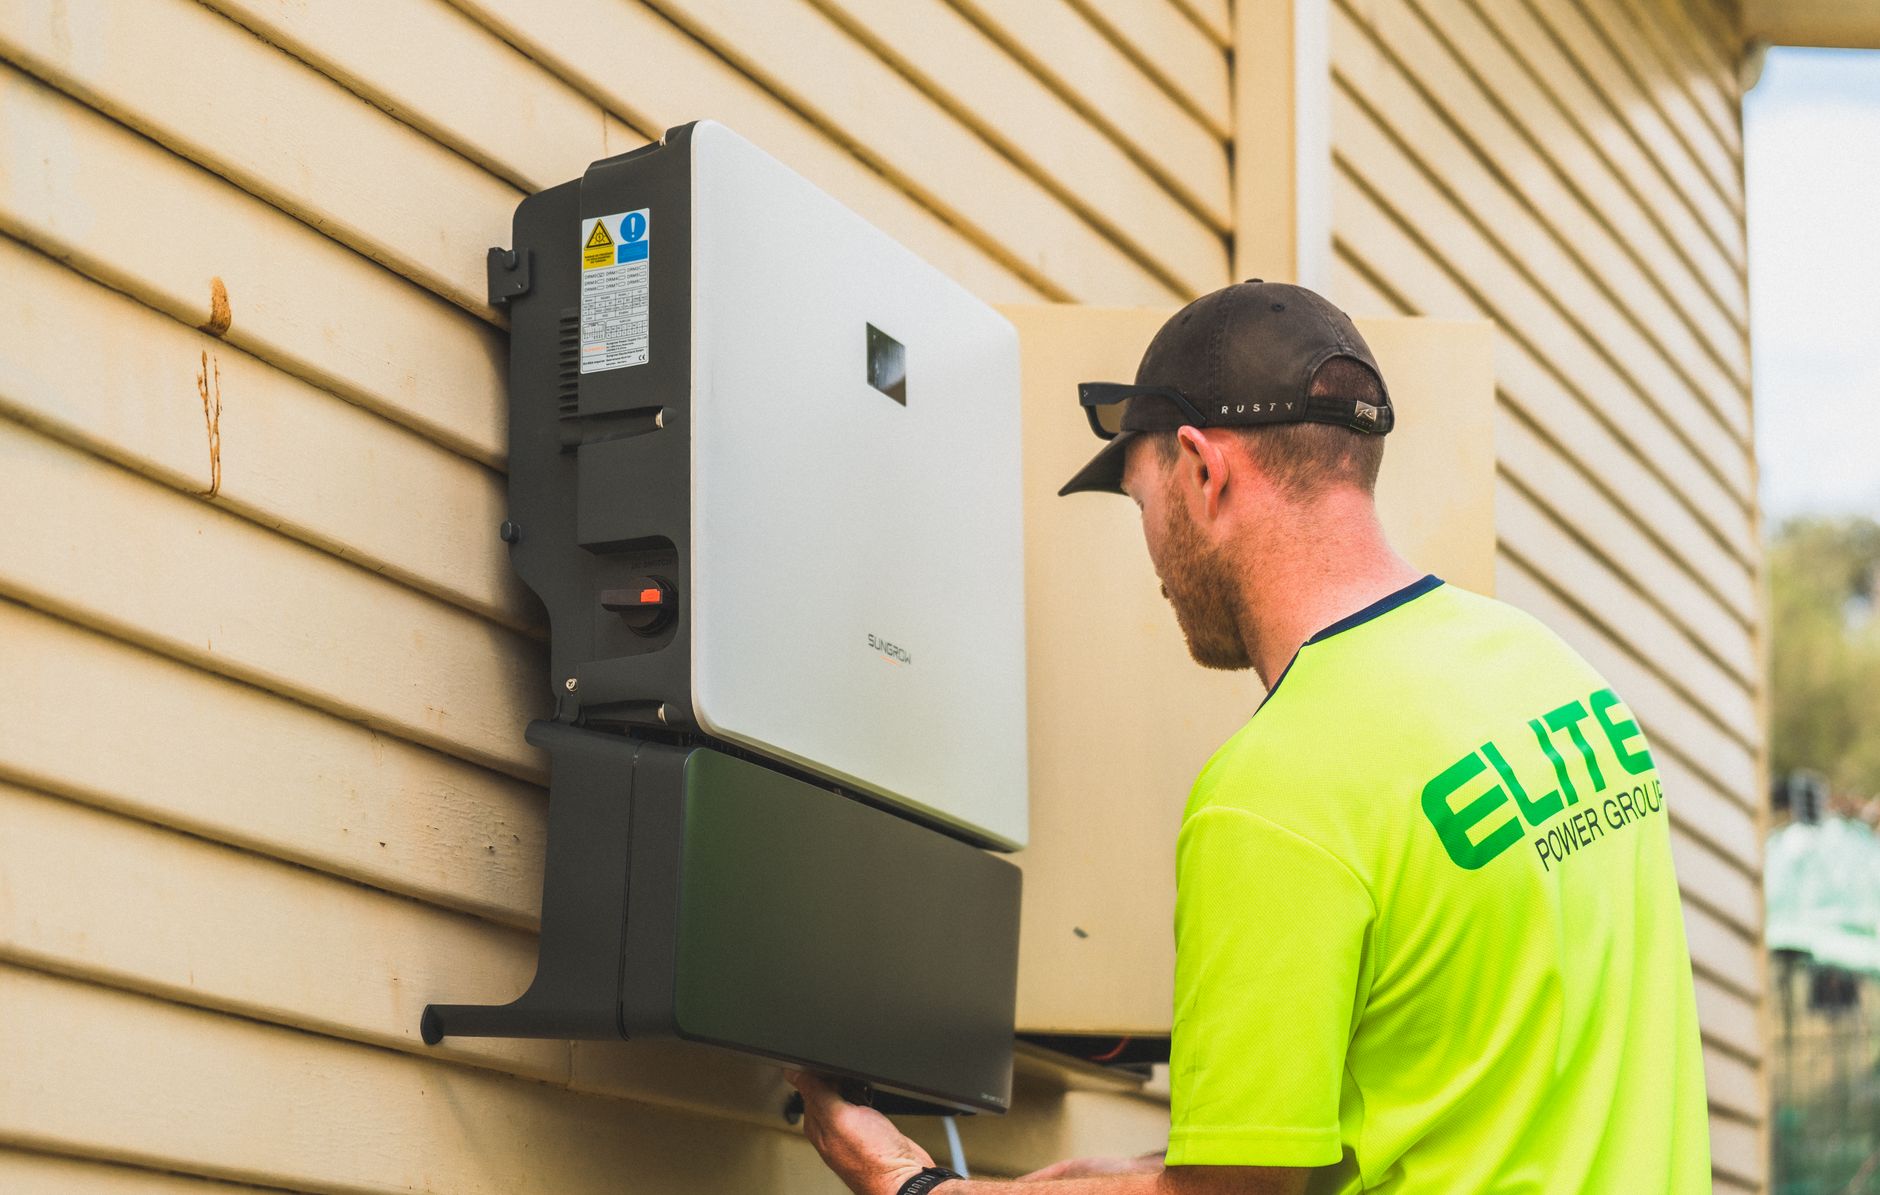
A home solar project has several steps, and knowing what comes next can make the process easier to manage. It usually starts with an assessment of your roof, electricity use, and site conditions. From there, the installer develops a system plan, schedules the work, and coordinates required approvals and inspections. The exact sequence can vary by home and local requirements, but your installer should explain responsibilities, timing, and any decisions you need to make before work begins.
Assessment and site review
The assessment helps determine whether your home is a good fit for solar and what system may suit your needs. The installer may review your electricity bills, roof age and condition, roof orientation, shading, and available space. They may also inspect your electrical panel and discuss how you use power, including whether you are considering an electric vehicle or battery.
Share any plans to replace the roof or upgrade electrical equipment before design work starts. Ask what the assessment includes, whether a site visit is needed, and what information you should provide. If the roof needs repairs, clarify whether those must happen before the panels go on and who will coordinate the work.
System design and approvals
Using the assessment, the installer prepares a system design that shows panel placement and the equipment needed to connect the system to your home. The proposal should explain the expected system size, key equipment, project scope, and assumptions about roof conditions. Ask how shading, seasonal sunlight, and your electricity use affect the design rather than relying only on the number of panels.
Before accepting a plan, confirm what is included, such as permits, utility paperwork, electrical work, and inspections. The installer typically submits design documents for applicable permits and utility review. Requirements and processing times vary, so ask which approvals must be in place before construction and who will track them.
Installation day
Before work begins, confirm the arrival window, access needs, parking arrangements, and where equipment or materials will be staged. The crew may need access to the roof, electrical panel, and other areas of the home. Move vehicles if requested, secure pets, and ask whether anyone needs to be home throughout the work.
Installers mount the racking and panels, run wiring, and complete the electrical connection according to the approved plan. Work may take more than one day, depending on the system and site conditions. Ask how the crew will protect the property, manage debris, and notify you if weather, unexpected roof conditions, or other issues change the schedule.
Inspections and utility connection
After installation, the system may need inspections to verify that the work meets applicable electrical and building requirements. The installer should tell you which inspections are required, who schedules them, and whether you need to be present. If an inspector requests a correction, ask what needs to change and when the follow-up review will happen.
A completed installation is not always ready to operate immediately. Your utility may need to review the project and authorize connection or permission to operate. Confirm that the installer will provide the required documents and explain how you will know approval is complete. Do not turn on or operate the system until the installer or utility confirms it is permitted.
A clear plan makes each stage—from roof review through utility approval—easier to follow. Keep your proposal, approvals, inspection records, and operating instructions together, and ask your installer to identify the next step and who owns it. Northline Solar can help Toronto homeowners understand the process and prepare questions for a project assessment.